Quick summary
Data validation in Coda lets you enforce rules on column inputs so that only correctly formatted values — such as numbers, dates, or text patterns — are accepted. Once configured, Coda automatically rejects invalid entries and displays a custom error message, keeping your doc's data accurate and consistent.
Steps
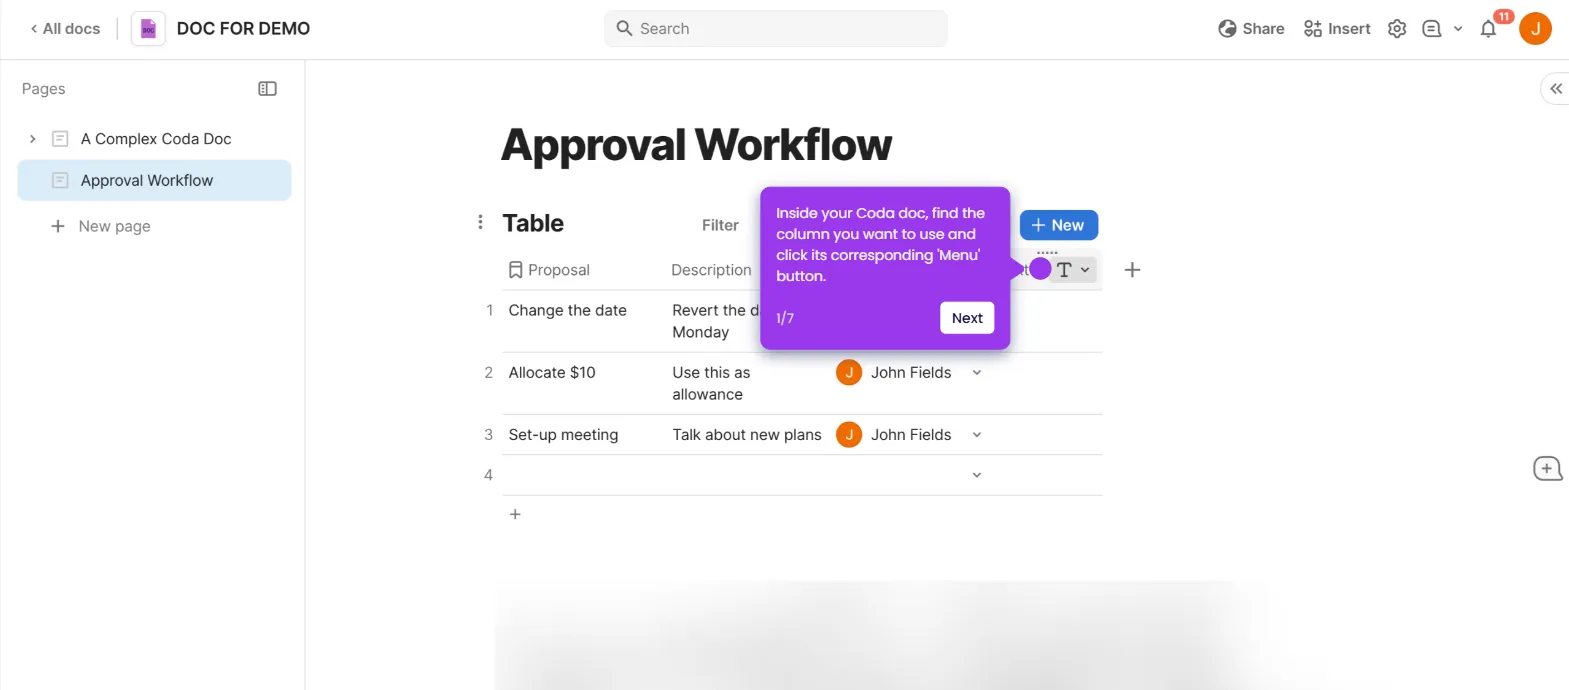
- Open the Coda doc where you need to validate your data.
- Click on the column where you want to add data validation rules.
- In the column settings panel, locate and select the Validation option.
- Choose the validation type that fits your data requirements — such as text, number, or date.
- Set your validation parameters, including min/max values, text patterns, or specific formats.
- Add a custom error message that users will see when they enter invalid data.
- Test your validation by entering both valid and invalid data to confirm it works correctly.
- Refine your validation rules as needed until they accurately filter your data.
- Apply validation to additional columns if necessary for complete data integrity.
- Confirm setup is complete — your doc will now automatically check data as it is entered.
- Remember that validation prevents errors before they happen, maintaining long-term data quality.